Edward James Awesome!

I’ve been in the habit of making my own tee-shirts for a while – over the years, I’ve used iron-on transfers, stippled acrylic fabric paint, and even spray paint, although that didn’t work very well. I’ve been sort of fed up with not being able to make proper stencil shirts, though, so I bought some textile ink at A.C. Moore and, using a thin sheet of plastic, made a proper stenciled tee-shirt.

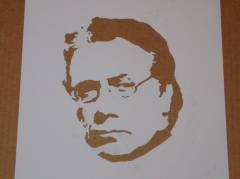
I used photoshop to make the stencil design; I took a photo of Edward James Olmos as Admiral Adama from Battlestar Galactica, cut the photo from the background, used the threshold function to reduce it to a black and white image, gaussian blurred the image to soften some of the lines, and then used the brush to eliminate any white areas within black areas. The last step is sort of important, because all of the black areas were physically removed in the stencil, and thus anything within them would be too. The end result was an image like this:

I printed the image at the size I wanted, traced it onto a sheet of thin, rigid plastic (this, to be exact) with a fine-point sharpie, and then cut out all the black areas with a hobby knife. The resulting stencil:

After making the stencil, I used a small roller (solid rubber, not the kind that holds a lot of ink) to roll the ink through the stencil, onto the shirt. I put a piece of cardboard between the two sides of the shirt to prevent ink from bleeding through from the front to the back, which in hindsight was a pretty damn good idea – I had to over apply ink in some areas, so a ton bled through. The stencil did a remarkably good job of keeping the ink within the lines, though, as you can see in the following picture:

Overall, an epic tee-shirt victory!

capAbility Games on the News!

We’re on the news! It’s only two minutes long, but features consumers from the Albany Center for the Disabled playing our game, Professor Kathleen Ruiz answering questions, description via newscaster, and an awesomely vague one-line quote from me. Damn right I laid out those constraints!

Tex Mechs

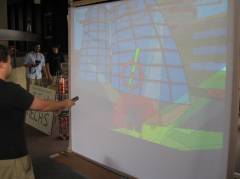
Last semester, I took a game development class – our project was a game called Tex Mechs. We used a large rear projection screen (6’ tall, 8’ wide) with a pressure sensitive floor mat and a Wiimote tucked into a more exciting enclosure to create a physically immersive, anime stylized video game. We ran it at the 2008 RPI Game Symposium and took home first place in the competition.

For now, I’m just sort of dumping content related to the project here – a video, a Flickr gallery, and a copy of the paper I wrote describing the rendering techniques I used to create a cel-shaded “anime” look. I’m waiting on some better videos, namely three full runs of the game, and will post them when I get them myself, perhaps along with more technical information.

Tex Mechs Rendering Techniques (PDF)

Tex Mechs Photo Gallery


Get the Flash Player to see this player.


Get the Flash Player to see this player.

Oh my! This could be interesting…

What? What?

Upgrade Complete

In case you haven’t noticed, I’ve switched to a new content engine – Pivot, to be exact. Hopefully, it’ll be better than Drupal was. Everything isn’t quite finished yet, though; I haven’t finished the layout, and I have yet to figure out how to organize my content such that it’s easy to browse and read.

Regardless, expect more frequent posts about more trivial things, along with some new projects, all hopefully coming soon.

Spaceship Parts

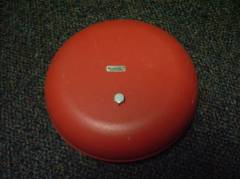
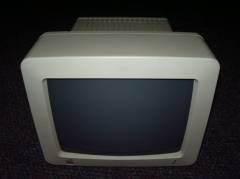
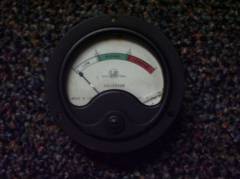
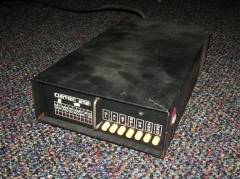
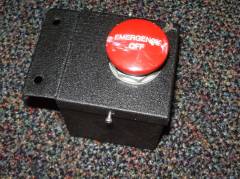
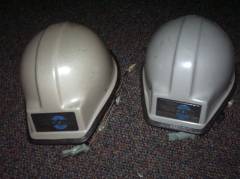
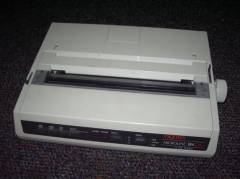
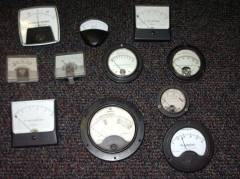
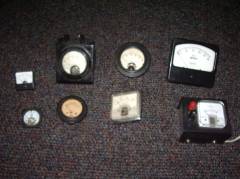
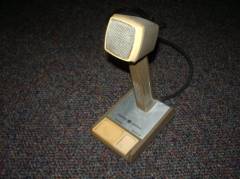
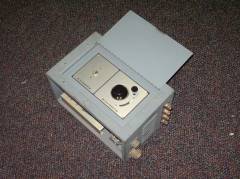
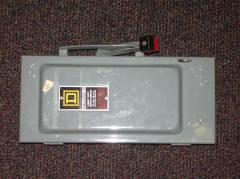
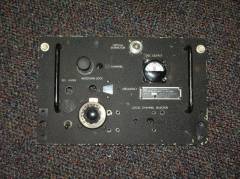
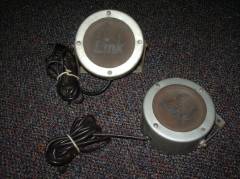
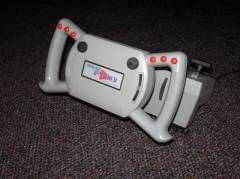
When I built the Atropos, I learned the valuable lesson that it’s difficult to create props (read: spaceship components) that look realistic. Since then, I’ve begun hording what I casually refer to as “spaceship parts”, which normal people refer to as electronics surplus or junk. In an effort of organization, I decided to create a mini-database to help me keep track of my collection.

My spaceship parts. Let me show you them.

Plastic Canvas

When I get tired of programming and engineering, I typically turn to hands-on activities – it took programming video games for 40 hours a week to get me started in blacksmithing and metal casting. Since I’m up at school now and don’t have as easy access to forging space (not to mention that it’s currently balls-to-the-wall cold outside), I somehow got the idea to pick up some plastic canvas supplies from AC Moore and taught myself how to make useless little trinkets out of yarn and plastic mesh.

Back in the heydays of fourth grade, I stumbled upon papercraft (although I had no clue that it had a name until a few years ago) and made all sorts of little sculptures out of paper. Although I drifted away from papercraft when I discovered computers, it’s always been an important part of my creative mentality. And as it turns out, plastic canvas has a lot in common with papercraft.

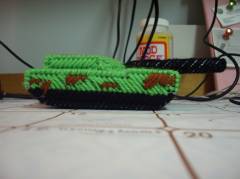
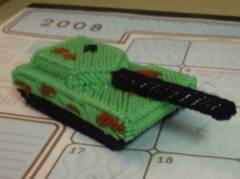
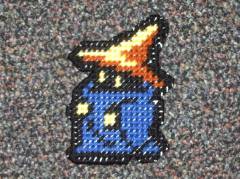
When working plastic canvas in 2D (like the Black Mage, pictured below), it’s quite like a special cross-stitch for dexterously feeble people like myself. Due to the rigidity of Plastic Canvas, however, it can be woven together into 3D structures, such as the Main Battle Tank I designed and built, pictured below. And it only took me over six hours to build!

Main Battle Tank, made out of plastic canvas. Main Battle Tank, made out of plastic canvas.

Black Mage, from Final Fantasy, made out of plastic canvas.

Metal Casting Recap

I started doing metal casting about a month and a half ago after reading about it on the internet on and off for over a year. The premise is simple: melt zinc (~787F) or aluminum (~1221F) in a charcoal fed blast furnace and then pour into a mold made from a mixture of sand, bentonite clay (kitty litter!), and water.

My furnace consists of a normal clay pot inside a metal bucket with some basic concrete poured between the two. A hole is drilled through the side a little above the base; a 2’x1/2” steel pipe (not shown) feeds air from a hairdryer through this hole and to the charcoal, where it SUPERCOMBUSTS to a temperature hot enough to melt anything I’d care to melt.

I burnt an old broken laptop with it at a LAN party. It was pretty significant.

My crucible consists of a 4” long, 2” diameter steel pipe nipple (teehee) with a hardy steel end cap. I do all handling of it with a set of long, 90 degree pliers and a pair of welding gloves. Although somewhat dangerous, it’s surprisingly not that intimidating.

My ghetto, metal casting furnace. A $5 crucible made of steel pipe.

While I wish I could say that I’m exorbitantly talented with my ability to cast metal, it wouldn’t be close to true – most of my pieces require significant grinding to clean them up after they come out of the sand. I’ve still been able to make some neat things, so far.

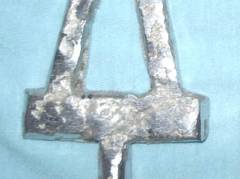
The first piece I made – a copy of Hillary’s “bent” from her engineering honor society thingy. We made this during our second time firing up, melting down scrap zinc that I procured while in Albany. For simply pushing the original in our kitty-litter-mix and then pouring molten metal in its place, it turned out surprisingly well.

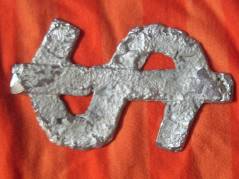
After a lot of things that didn’t turn out at all (mostly poor attempts at the lost foam method) I was able to make a really scrappy looking piece of bling. While the bent was a copy of an object, this was a more custom design, made by pressing a small wooden block into the sand to create the shape of a dollar sign. Turned out sort of ugly, but at least the shape was recognizable.

A poor duplicate of a TBP bent. Bling!

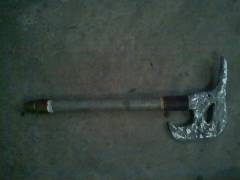
The first real thing that was remotely proud of is my hawk axe. The head was an abstract design that I came up with on the spot (sort of based off a sketch I had drawn in a meeting) and was shaped by the same wooden block technique I used to make the dollar sign. I then pressed the top pipe fitting, half filled with sand to preserve the lower threads, into the sand and cast the axe head directly into it. After letting it cool and removing it from the sand I was able to clean it up, polish it off, and screw it onto the handle.

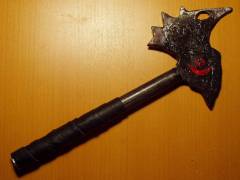
The second axe below was cast in a similar method to the hawk axe, although didn’t firmly cast into the pipe union. I ended up grinding down the base of the head and hammering it firmly into the pipe, allowing for a more seamless junction. I then painted it with acrylic paints (silver zinc looks weird with black steel), covered it with a coating of polyurethane, and then wrapped a strip of black leather around the handle.

My zinc hawk axe. My second zinc axe.

Short Sword

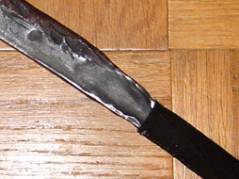
After returning home for winter break and building a new furnace more suited to blacksmithing (pictures to come shortly), I crafted my first real piece of steelwork – a short sword. Made from the same stock as the chisel, it turned out much nicer than I anticipated, and, while not designed for cutting, has a far nicer edge and finish than any of my zinc axes (obviously).

A useless but somewhat neat looking

Insight Studio

I made this a while ago, but never finished it – I wasn’t sure exactly where to go next, and, I guess, sort of lost interest. It’s got a bit of function, however, and thus I’m releasing it to the world!

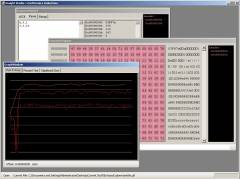
Insight Studio was designed as a tool to assist in reverse engineering filetypes, such as what I did with Empire at War (albeit I simply used a hex editor for that one). After loading up a file into Insight Studio, there are three windows to use:

GraphWindow: The GraphWindow is used to get an overall view of a file, such as its entropy (how many relevant bits per byte – compressed data and images will typically rank higher than numerical data, although it can be somewhat irrelevant), percent text (what percentage is likely to be ASCII text), and significant zero score (something I invented; essentially scores the amount of zeros across the file, which results in a high score for aligned, numerical data). You can click on any of the graphs and hit the goto button to be sent to that location in the SegmentMapper.

SegmentMapper: The SegmentMapper is a glorified hex viewer, which allows you to define segments that can later be viewed. Type “help” in the prompt to see a list of the commands and examples of their use. Segments are chunks of the file, which simply consist of a start address and end address of the data in the file.

SegmentViewer: The SegmentViewer allows you to view the segments in various ways, such as pure ASCII text, as packed, random values, and as bitmaps (experimental). The bitmap view is restricted to one type of image encoding for right now (I never got around to implementing any others), as it’s technically just an experimental feature at the moment. The numerical value which is set to “16” by default for right now is the width of the stored image in pixels. Thus, for a 320×240 encoded image, you would enter 320, select a segment, and hit “Draw”.

By no means do I consider this a finished product, nor do I know if I’ll ever improve on it. Perhaps someone will find it useful or interesting. Enjoy!

Download Insight Studio

Using Insight Studio to examine the contents of a file.